
Substrate
Verify framing, flatness, slope, backer and movement conditions.
Tile Work · Dallas–Fort Worth
Tile work planned around substrates, waterproofing, layout, and lasting finish quality.
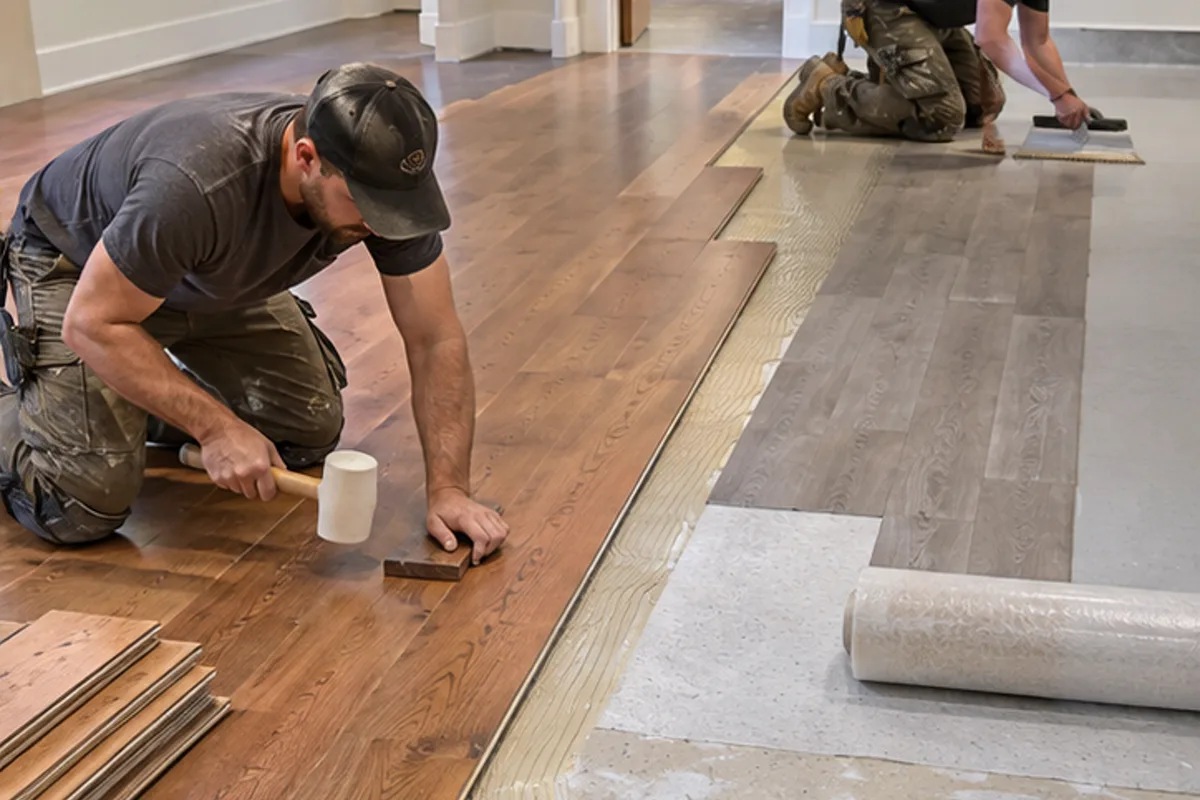
What We Can Help With
Define the work your property needs, whether it is part of a complete build or a focused improvement.
Tile work planned around substrates, waterproofing, layout, and lasting finish quality. Early coordination with related trades helps clarify sequencing, access, and finish requirements before work begins.
For a useful tile work discussion, share: Room sizes, tile selections, wet-area details, and photos or drawings of the space.
Answers To Help You Plan
Tile is the visible finish, not a substitute for the specified waterproofing assembly. Review the membrane, drain connection, corners, niches, bench and penetrations before setting tile. Complete the applicable testing while the assembly remains accessible, then protect it from damage by subsequent work.
Decide the shower geometry before the slab or floor framing is finalized. Drain elevation, recesses, slope, adjacent floor thickness and waterproof transitions must work together. Coordinate plumbing, framing and the glass or door layout early so accessibility goals do not become last-minute alterations to finished construction.
Tile dimensions and layout affect how substrate unevenness becomes visible in the finished surface. Check flatness, stiffness, movement and the selected installation system before setting. Separate substrate correction from material purchasing, and agree transitions and edge profiles rather than expecting mortar to resolve every underlying irregularity.
Begin with focal walls, finished elevations and the selected tile dimensions. Coordinate niche edges, valve depth, benches, cabinet lines and door openings before approving the layout. A shared drawing or mockup helps avoid narrow cuts and mismatched transitions that cannot be corrected simply by changing grout.
Use the selected assembly's details to identify movement accommodation, changes of plane and interfaces with other materials. Coordinate these locations with the tile layout before installation. Do not assume a continuous field of rigid grout can replace specified movement provisions or conceal an active substrate problem.
Access should follow the mortar, grout and sealant requirements of the selected system, not merely whether the surface looks dry. Plan protection and delivery routes before installation. Inspect finished joints, edges, slope and transitions, then keep heavy equipment and damaging work away during the required cure.
Licensed · Bonded · $5M Insured
Bring plans, a property address, or simply an idea. We’ll help you understand the next step.
Professional protection for residential and commercial work. No finished plans required.North Texas Field Note
Wet-area substrate, slope, membrane transitions and penetrations must be complete before layout and grout color matter.
Technical Execution Guide
Tile is only as reliable as the assembly behind it.
Verify framing, flatness, slope, backer and movement conditions.
Complete pans, membranes, corners, niches and penetrations; test where required.
Establish focal lines, balanced cuts, elevations, joints and transitions.
Use compatible mortars, coverage, cure time, grout and movement sealants.
Inspect lippage, drainage, clean surfaces and provide care guidance.
Detailed Field Guide
Tile is a finish over a structural and moisture-management assembly. Wet-area performance depends on slope, membrane continuity, drain connection and movement accommodation before the first tile is set.
Start With Existing Conditions
Check framing stiffness, substrate flatness, moisture, drain elevation, curb/curbless geometry, niches, benches, penetrations and adjacent finish thickness. Existing installations may require removal to identify the actual failure.

Define The Complete Assembly
Define backer, mortar bed or panel, waterproofing, drain, reinforcement, uncoupling, mortar, tile, grout, movement sealant, edge profiles and transition details. Products should form a compatible system.
Coordinate The Adjacent Trades
Coordinate plumbing valve depth, glass, doors, cabinets, lighting, blocking, flooring and accessibility. Establish layout from focal surfaces and finished elevations, not from the first available corner.
Sequence The Work
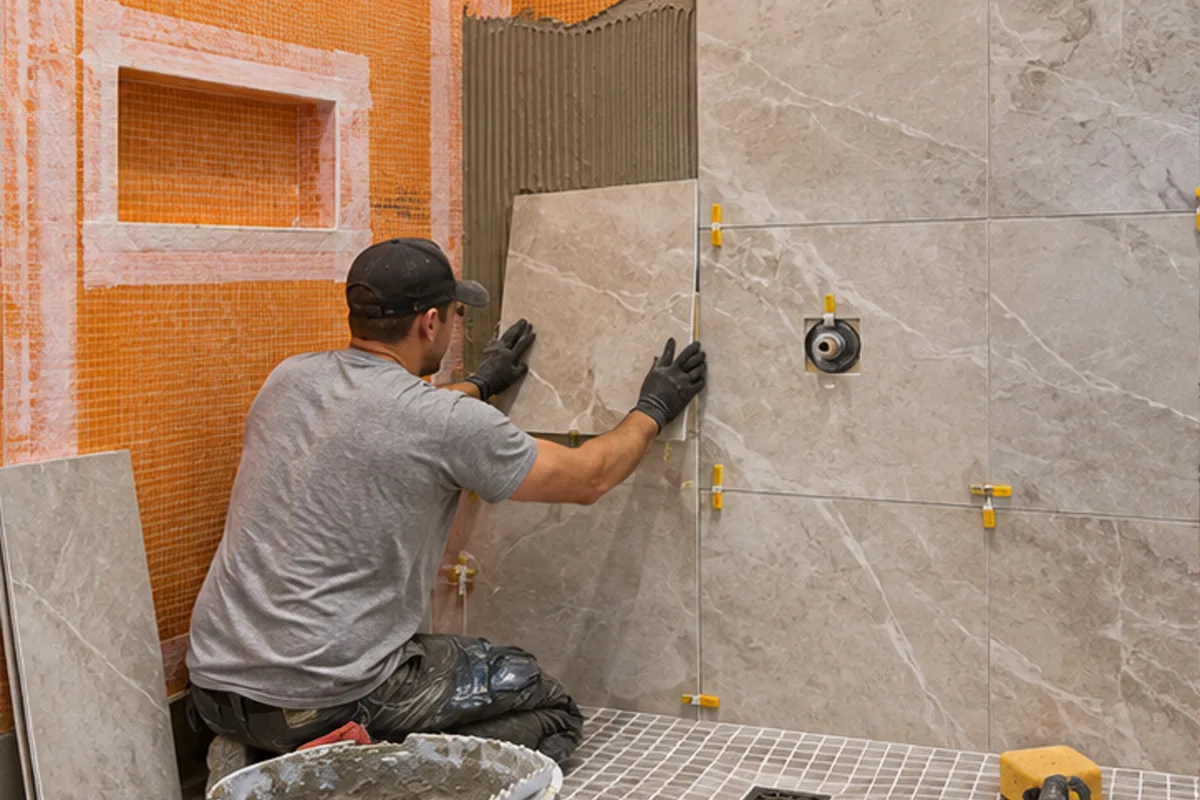
Correct the substrate and confirm drain, threshold and layout decisions before waterproofing. Inspect the membrane and complete applicable flood testing before tile setting. Install tile, joints and edge details with the selected compatible system, then protect mortar, grout and sealant cure before glass installation or normal use.
Quality-Control Hold Points
Inspect substrate and membrane, perform flood testing where applicable, verify mortar coverage, lippage, joints, slope and sealant transitions. Protect cure and completed surfaces from following trades.
Cost Drivers And Allowances
Drivers include demolition, substrate correction, waterproofing complexity, tile size/material, patterns, niches, benches, edges and access. Allowances should separate material purchase from installation complexity.
Schedule And Procurement
Waterproofing and flood test precede setting; mortar and grout require cure. Stone or specialty tile procurement, shop drawings and fabrication may be long-lead.