
Property File
Current survey, parcel information, title exceptions, restrictions and any prior plans.
Granbury & Hood County Construction
Granbury-area construction changes quickly from city-served property to lake lots, gated communities and county acreage. Contractor registration, permit jurisdiction, utilities and current restrictions belong in the first feasibility check.
One Vision.
One Connected Team.
Local Construction Lens
Lake-oriented sites can add flood information, slope, retaining, shoreline access, view placement and difficult concrete delivery. Acreage can add septic, wells, long drives and rural utility routes.
Pecan Plantation, DeCordova and Canyon Creek each need their own current property documents and approval path, so the home should be designed after the lot file is assembled.
Useful First Documents
Current survey, parcel information, title exceptions, restrictions and any prior plans.
Photos, utility information, drainage or flood documents and known soil or access issues.
Intended use, approximate size, room or equipment list, finish level and operating needs.
Budget range, financing or lease milestones, target date and the approvals already identified.
Start With The Property
The parcel location, city limits, ETJ status, use and trade scope determine which authorities and utilities are involved.
Yes. A construction-feasibility review organizes the site, utility, access, restriction and budget questions that should shape design.
A survey, intended use, approximate area, existing-condition information, finish level and known site requirements make the range more meaningful.
Both begin with property, use, scope, approvals and budget, but commercial work adds occupancy, fire, accessibility, operations and lease responsibilities.
Property-Specific Planning
Before architecture is advanced and, when possible, while the buyer still has time for property due diligence.
A current survey, title or restriction documents, utility information, any prior studies and photographs of access and drainage.
Yes. Footprint, garage approach, outdoor space and finished-floor strategy should respond to the actual property.
The current requirements are assembled, responsibilities are assigned and the design package is scheduled alongside permitting and engineering.
A Granbury-area construction plan begins with a boundary survey, the recorded plat, ownership information and a written description of the intended work. Separate the mailing address from the actual jurisdiction. Identify whether the site lies within a municipality and which office controls development, floodplain review, road access and any on-site wastewater system. Put each responsibility on a project checklist with an owner and a required completion date. This prevents a house design from advancing around an assumed permit path that later proves wrong.
Ask the title company and surveyor to identify recorded access and utility easements, building lines and restrictions affecting the proposed footprint. A fence is not proof of a boundary, and a visible utility pole is not confirmation that a new service can be connected at an acceptable cost. Mark the proposed home, garage, porches, driveway, drainage corridors and future improvements together. The useful question is not whether a floor plan fits inside the lot outline, but whether all required uses fit without conflicting with one another.
Create a feasibility record before approving expensive design revisions. Record which documents have been received, which conditions are confirmed and which assumptions remain open. Photograph existing drainage, neighboring grades, trees, overhead lines and delivery access. Give the architect and civil or structural engineer the same current information. When a condition remains uncertain, carry a defined investigation task and budget allowance instead of silently treating it as resolved. That record becomes the basis for scope, pricing and the first construction schedule.
For a Pecan Plantation property, assemble the current documents applicable to that exact lot before selecting a stock layout. Ask the owner or community administrator for the recorded restrictions and current architectural submission process, then have the design team identify what must be shown in the application. Prepare the building elevations, exterior palette, roof design, garage orientation, driveway, fencing and landscape as one coordinated package. Treat these as items to verify for the parcel rather than assuming one rule or approval covers every property.
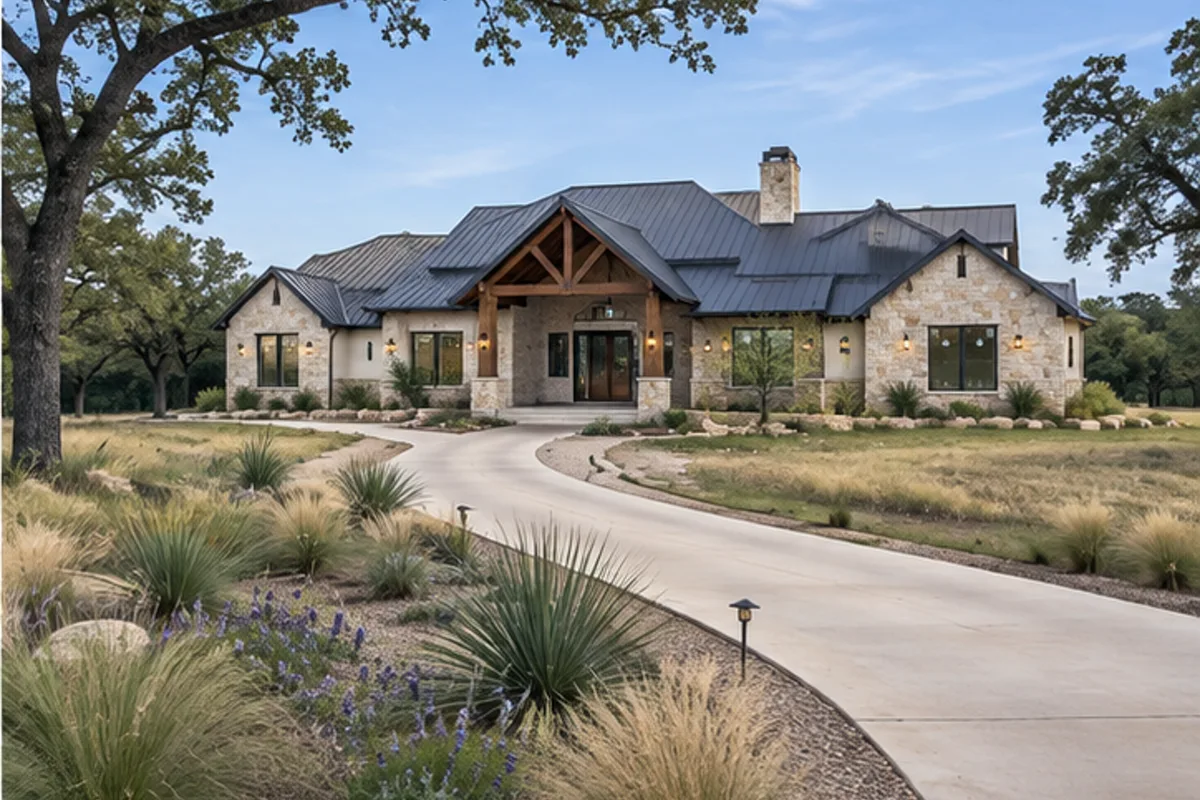
Walk the arrival sequence with the house plan in hand. Check where a vehicle turns, where guests park and how deliveries reach the garage without cutting through protected landscape or blocking the construction entrance. Review the relationship between the front elevation, street grade and finished-floor elevation. Where the site has a view or a recreational edge, study privacy, glare, shade and exposure before placing large windows. A view-driven plan still needs practical kitchen circulation, service access, drainage and a comfortable route from the car to the living space.
Before mobilization, confirm the actual delivery and contractor-access arrangements with the responsible parties. The logistics plan should identify the concrete truck route, pump location if needed, material unloading zone, waste container, temporary sanitation and protection of existing pavement. Confirm any permitted working windows rather than building the schedule around an assumption. Keep community design acceptance, governmental permits and utility releases as separate milestones. At closeout, reconcile approved exterior selections with installed work and document any approved revisions alongside the final property records.
A DeCordova project may involve a new home, an addition or a substantial renovation with existing structures and landscape to preserve. Start by measuring what is actually there. Verify the slab and floor elevations, roof geometry, visible drainage paths, utility locations and the relationship to adjacent properties. For an addition, establish how the new structure meets the old one before selecting finishes. The connection may affect foundation design, roof drainage, waterproofing, interior circulation and the ability to keep part of the home usable during construction.
Where a lot has slope or lake-oriented views, compare several finished-floor and outdoor-living arrangements rather than simply raising or lowering the entire house. Review steps, accessible routes, retaining structures, patio drainage and the discharge from roof gutters together. A tall rear patio can create structural and privacy consequences that were not visible on a flat floor plan. Keep excavation limits and neighboring improvements in the site discussion. The engineer should determine the appropriate structural and earth-retention solution from the actual conditions, not from a photograph of another home.
For occupied renovations, write a temporary-use plan covering dust separation, safe entry, temporary utilities, bathroom availability and the periods when the home cannot reasonably remain occupied. Document existing finishes and fragile elements before demolition. Carry investigation allowances for concealed conditions until openings establish the actual assembly. Coordinate any community submissions with the design revisions, and confirm the governing municipal route for the parcel. Closeout should include the interfaces between old and new work, not just a punch list of the newly finished rooms.
For a Canyon Creek lot, begin with physical access and service availability before treating the advertised lot area as buildable area. Identify the boundary, topography, recorded access rights and any easements affecting the driveway or house location. Walk the delivery path from the public approach to the proposed building pad. Note tight turns, soft shoulders, overhead obstructions and locations where vehicles would have to reverse. A smaller house can still require substantial site preparation if the access and utility routes are difficult.
Obtain written confirmation of the water and wastewater arrangements appropriate to the parcel. If an on-site sewage facility is needed, coordinate the system layout and required disposal area with the house, driveway, trees and future improvements before fixing the footprint. If a utility connection is proposed, establish the actual point of connection and the work required on both sides of the property boundary. Keep extension work, meter or service charges, trenching and restoration visible in the budget instead of burying them inside a house-only square-foot allowance.
Use a compact, deliberate building program when the property envelope is constrained. Test room relationships, storage, covered entries and equipment locations against the site rather than reducing every room uniformly. A simple roof and coordinated exterior system can reduce interfaces, but neither eliminates engineering or drainage requirements. Confirm the current restrictions and submission responsibilities for the lot, then select materials with clear installation details and maintenance expectations. The final feasibility decision should compare the complete delivered project, including infrastructure and exterior completion, with the owner's budget.
The site plan must show where water arrives, where it travels and where it can leave without creating a problem for the structure or neighboring land. Compare existing contours with proposed finished grades, driveway elevations, porch levels and roof discharge. Identify low areas that could be trapped by a new slab or retaining feature. An attractive landscape drawing is not a drainage design. Where conditions require civil engineering, complete that work before field crews establish pad height or import fill based only on visual judgment.
Give the structural engineer the geotechnical information, architectural loads and site constraints needed to select the foundation. Post-tensioned slabs, conventionally reinforced systems and pier-supported solutions are not interchangeable menu options. Their suitability depends on the investigation and design. Coordinate plumbing penetrations and sleeves with beams, reinforcement and equipment before the pre-pour inspection. Establish responsibility for fill placement and verification, moisture conditions, excavation cleanliness, vapor protection and the survey or dimensional checks that confirm the slab is in the approved position.
Plan concrete placement as a controlled operation. Confirm access, truck spacing, pump requirements, weather provisions, finishing sequence and curing responsibilities before ordering. Photograph concealed work and retain inspection documentation. After placement, protect the slab from premature loading and coordinate any post-tensioning operations with the design and qualified installer. Later trades should not drill, cut or chase the slab casually. Keep foundation information available for future alterations, and finish the surrounding grades so the completed landscape supports the water-management strategy rather than undoing it.
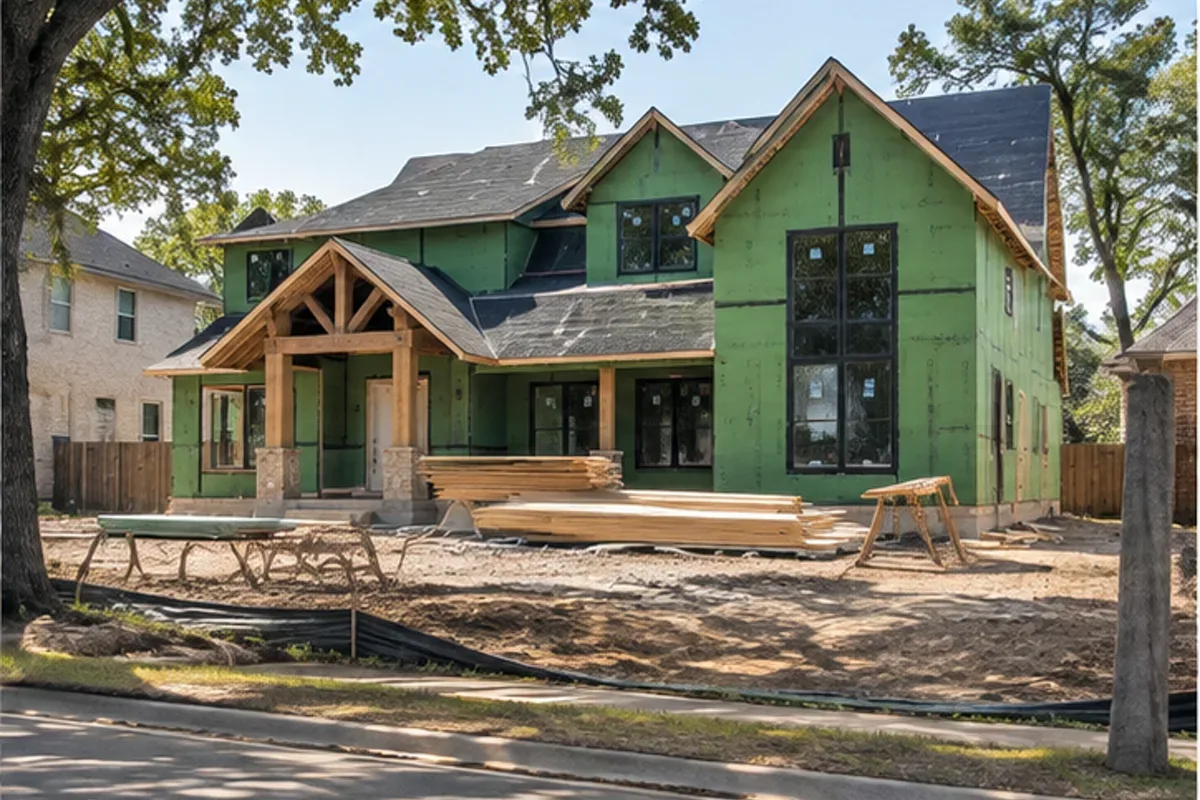
Once framing begins, check the structure against the current architectural and engineering drawings before installing expensive finish systems. Verify major openings, ceiling transitions, roof geometry, bracing and the locations needed for ductwork and plumbing. Resolve conflicts through an approved detail rather than cutting a structural member to make a service fit. Window and door dimensions should be reconciled with actual ordered products. Photograph key assemblies and record corrections before the work disappears behind sheathing, insulation or drywall.
Treat the roof, wall drainage plane, flashings and openings as one enclosure. Coordinate roof-to-wall transitions, porch connections, penetrations and the drainage path behind brick, siding or stucco. Confirm the specified products and compatible accessories, not merely the visible color. Electrical, plumbing and HVAC rough-ins should be inspected and tested as applicable before insulation and drywall. Equipment service clearances, filter access, condensate routing and shutoff locations should remain practical after cabinets, shelving and finished ceilings are installed.
The finish schedule should connect each selection to the date it is needed in the field. Shower assemblies need a defined waterproofing system, substrate and testing sequence before tile is treated as the finished protection. Flooring needs the specified substrate condition and preparation. Cabinet dimensions should coordinate with appliances, plumbing and electrical locations. Use room-by-room checks for doors, trim, paint, hardware and fixtures, then protect completed areas while remaining trades finish. Small sequencing decisions at this stage prevent repeated damage and avoidable return visits.
Use the custom-home cost guide for orientation, then develop a property-specific estimate with separate lines for design and investigation, infrastructure, the conditioned house, garages, covered outdoor areas and site completion. Identify whether engineering, permit charges, utility work, disposal and temporary facilities are included. For an existing home, separate demolition and protection from new construction. Compare proposals by quantities and scope boundaries, not only by the bottom-line total. Two estimates can appear far apart simply because they cover different work.
For every allowance, state the quantity, unit basis, labor coverage, material coverage and decision deadline. A fixture allowance should explain whether installation and accessories are included; a landscape allowance should identify irrigation, soil preparation and establishment responsibilities. Carry contingency separately from optional upgrades. When a change is proposed, evaluate its drawing, engineering, procurement and schedule effects before approving it. Record the revised amount and completion impact in writing so a design conversation does not become an undocumented field instruction.
Build the schedule around approvals, information and procurement as well as labor. Mark when the site can be released, when the foundation drawings must be final, when windows and equipment need ordering and which inspections precede concealment. Allow for weather-sensitive grading and exterior work without promising a universal duration. Granbury's permitting department provides current procedures and inspection guidance; the project team should confirm the requirements for the actual scope. A reliable schedule shows dependencies and decision dates, not just an optimistic move-in date.
The project is not complete when interior photographs look finished. Check driveway drainage, walks, steps, fencing, irrigation coverage, soil preparation and establishment of planted areas. Confirm that final grading has not buried required clearances or diverted runoff toward the house. Remove construction debris and temporary works without damaging completed surfaces. For a renovation, inspect the rooms and outdoor areas used for access as well as the new work. Document which landscape maintenance tasks transfer to the owner and when that responsibility begins.
Arrange a systems orientation covering shutoffs, electrical panels, HVAC filters and controls, ventilation, water-heating operation and any installed irrigation equipment. Collect product information, inspection records, approved changes and the written warranty documents applicable to the contract. Explain how to report an issue and which conditions require immediate attention from the appropriate professional. Do not substitute a broad marketing warranty statement for the actual terms. Keep remaining punch items assigned, dated and tracked until they are closed.
For buyers comparing Pecan Plantation, DeCordova, Canyon Creek or another Hood County property, the next useful step is a structured site conversation. Bring the parcel, survey if available, current restrictions, intended room program, approximate investment range and the features that matter most. Identify whether you are choosing land, adapting a plan or preparing construction documents. The project team can then organize the investigations and decisions in the right order, with the property's constraints visible before major commitments are made.
Licensed · Bonded · $5M Insured
Bring plans, a property address, or simply an idea. We’ll help you understand the next step.
Professional protection for residential and commercial work. No finished plans required.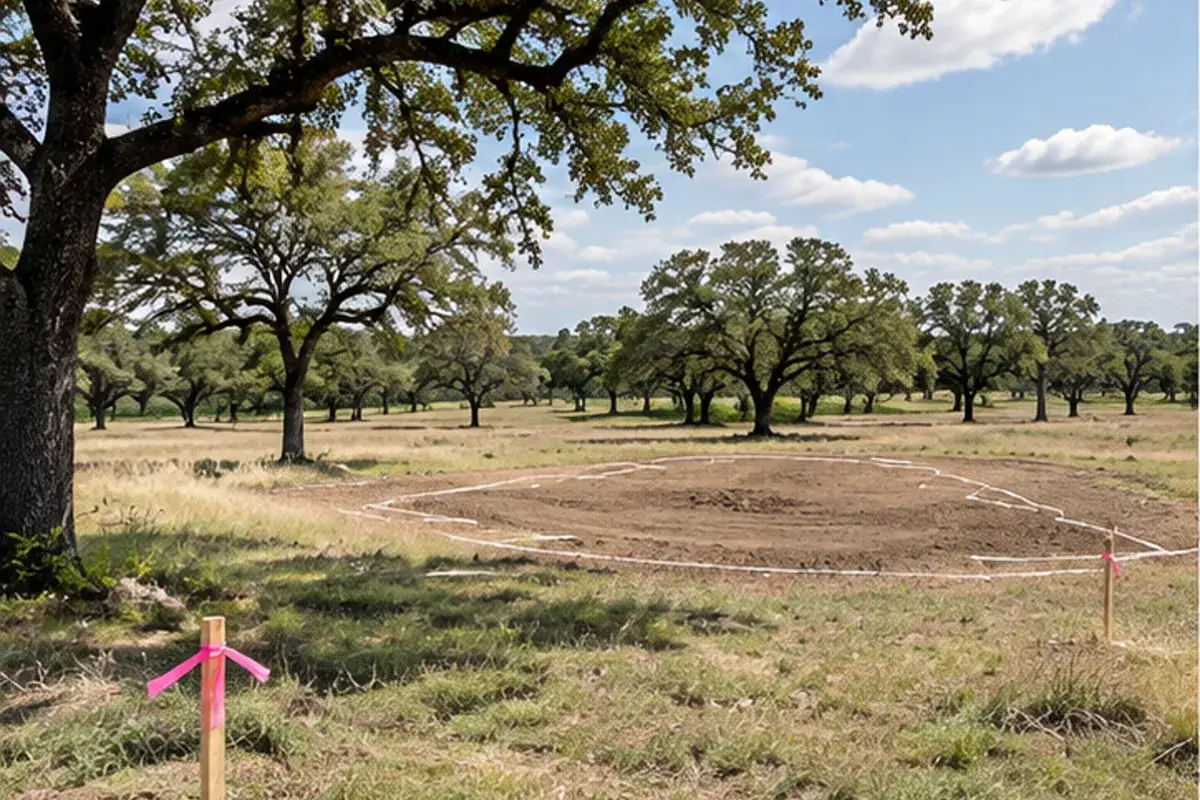
Authoritative Planning Links
Requirements, fees and adopted codes can change. These first-party resources are the right starting point; the project team should confirm the current rule for the exact address and scope.