Custom Home Building · Dallas–Fort Worth
Custom Home Builder
In Dallas–Fort Worth.
Follow the complete North Texas construction sequence—from site and plans through structure, systems, finishes and final drainage. Every phase below explains what happens, what must be coordinated and what should be verified before the work is covered.
The Complete Build Sequence
19 Phases. One Coordinated Project.
Construction quality depends on what happens before the visible finishes. Use this guide to understand the decisions, inspections and trade handoffs that protect the finished home.
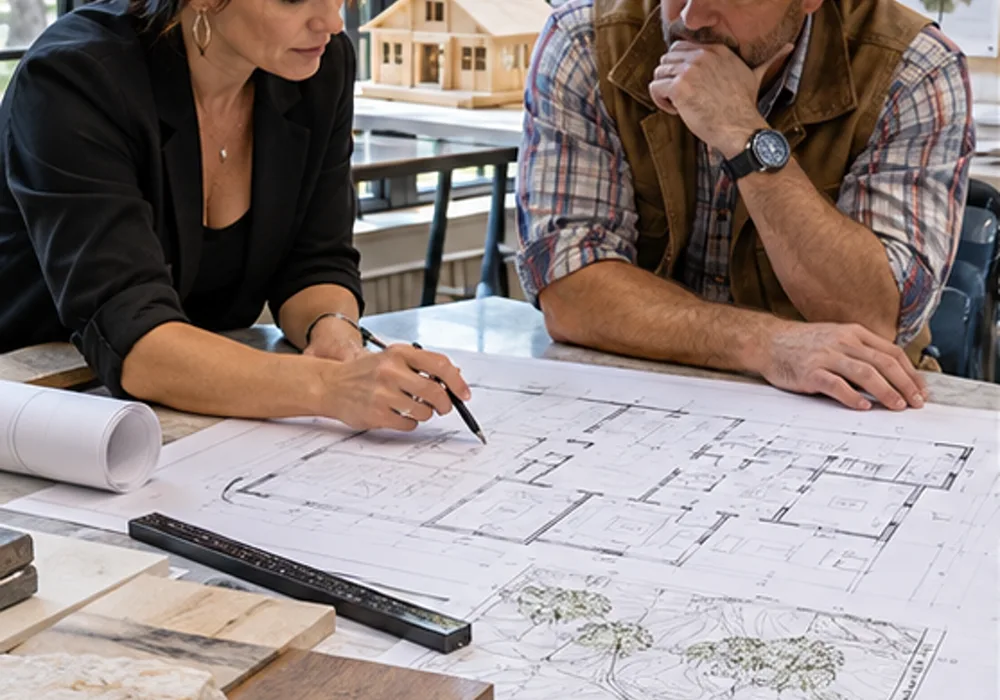
Phase 01 · Preconstruction
Design, Architecture & Construction Documents
The build begins by translating how the family lives into a coordinated set of documents. Programming establishes room sizes, adjacencies, storage, furniture clearances, outdoor relationships, accessibility needs and future flexibility. The site plan then connects that program to setbacks, easements, trees, solar exposure, driveway geometry, utilities, drainage and the best finished-floor elevation.
Schematic plans become dimensioned architectural drawings, exterior elevations, roof plans, wall sections, door and window schedules, structural engineering, foundation engineering and coordinated mechanical, electrical and plumbing information. Finish expectations and allowances should develop beside the drawings so the design does not outrun the investment range. A pricing set must be detailed enough that major trades are bidding the same building—not filling gaps with different assumptions.
Critical controls at this stage
- Current boundary/topographic survey and deed restrictions reviewed
- Room program, exterior architecture and target budget reconciled
- Structural, foundation and MEP conflicts resolved before permit
- Selections and allowances tracked with decision dates
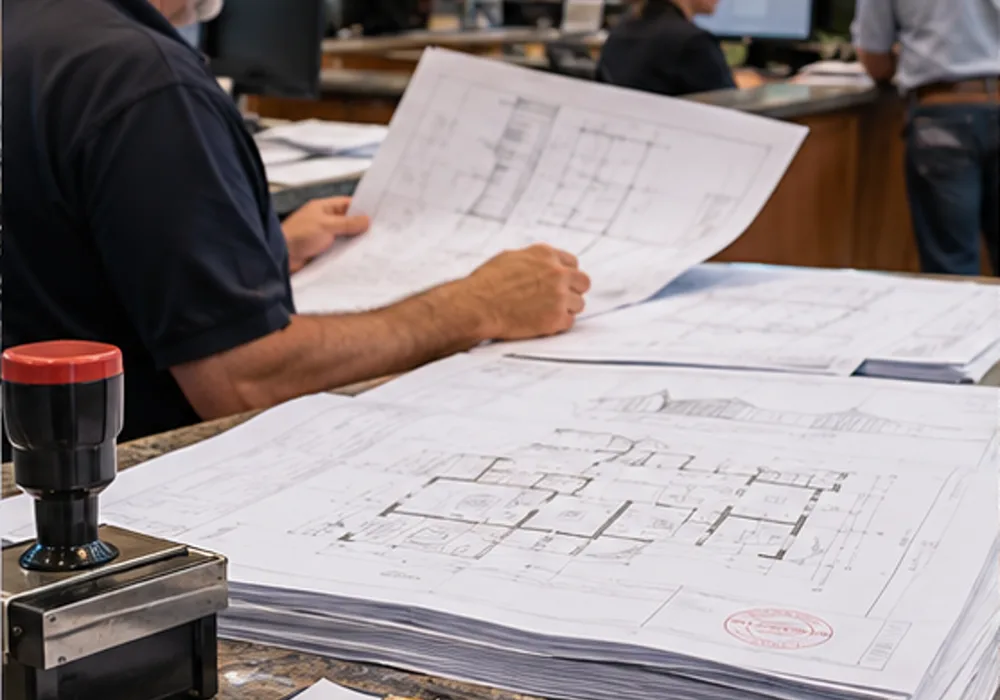
Phase 02 · Approvals
Permitting, Utilities & Release to Build
The permit phase is more than submitting a floor plan. The package may require energy compliance, foundation and framing engineering, site and drainage information, water and sewer documentation, driveway or culvert approval, septic design, tree information, HOA or architectural-control approval and separate trade registrations. Requirements depend on the jurisdiction and exact property.
Plan-review comments are logged, assigned to the architect, engineer or contractor, and incorporated into one current drawing set. At the same time, utility availability, tap or meter requirements, temporary power, construction water and long-lead release items are confirmed. Construction should start from the approved set with a clear record of revisions, rather than from an earlier pricing draft.
Critical controls at this stage
- Permit matrix identifies every city, county, utility and HOA approval
- Reviewer comments closed in the issued-for-construction set
- Temporary power, water and sanitation planned before mobilization
- Long-lead windows, equipment and special materials released deliberately
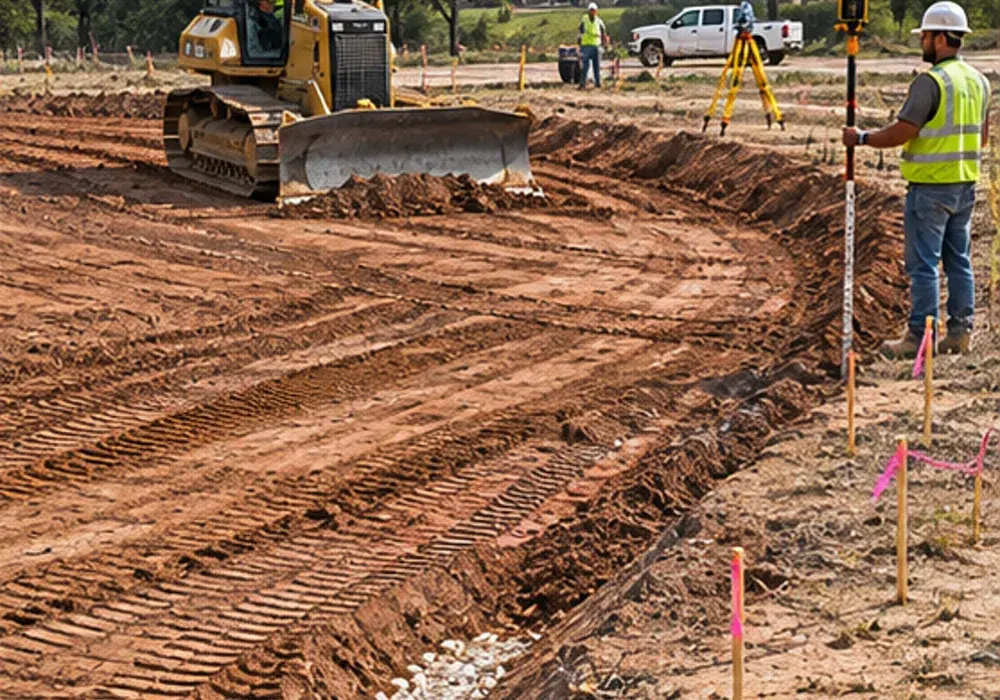
Phase 03 · Sitework
Site Clearing, Grading & Building Pad
Survey control establishes the house corners, benchmark and working limits before equipment changes the property. Clearing should protect trees and areas meant to remain, strip unsuitable organic material from the building pad, and preserve access for concrete trucks, cranes, deliveries and emergency vehicles. On acreage, the temporary drive and staging plan can be a meaningful part of the budget.
Rough grading shapes the pad and the surrounding drainage before foundation work. North Texas clay changes volume as moisture changes, so uncontrolled fill, buried debris and ponding near the slab create long-term risk. Fill placement, moisture conditioning and compaction follow the geotechnical and foundation recommendations. Swales, positive fall, culverts, retaining conditions and neighboring drainage are reviewed as one system.
Critical controls at this stage
- Survey benchmark and building location verified before excavation
- Unsuitable soil removed and engineered fill documented where required
- Pad elevation coordinated with street, drainage and flood information
- Temporary erosion, mud and stormwater controls maintained
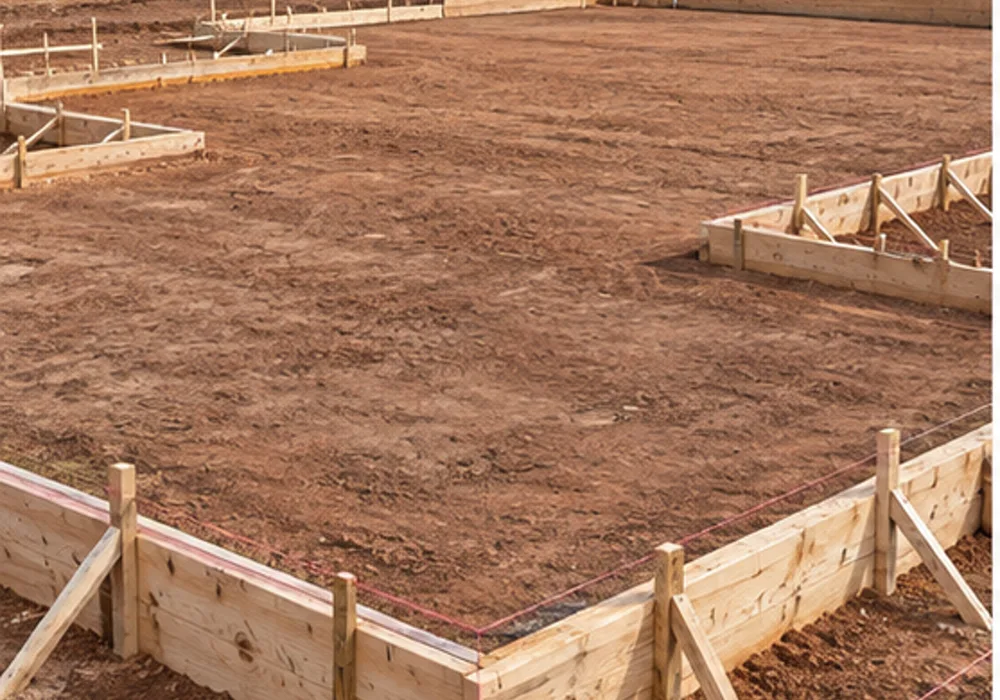
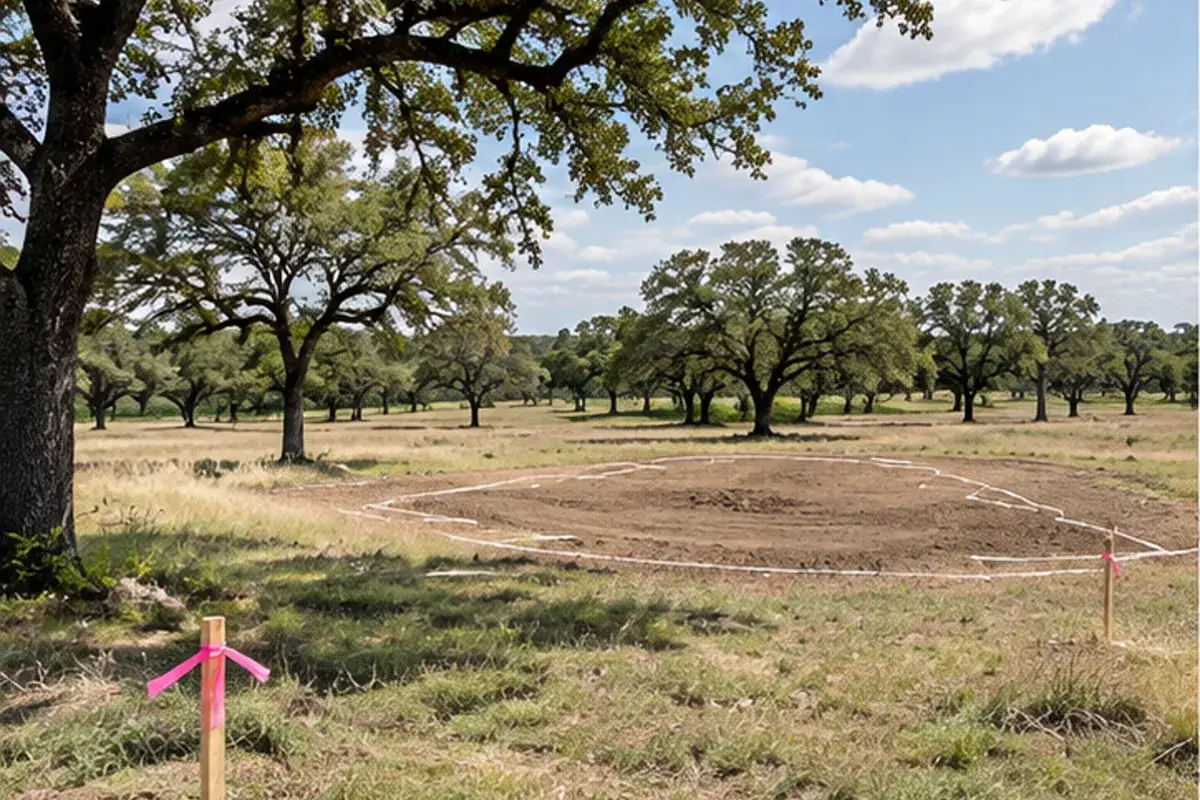
Phase 04 · Foundation Layout
Form Boards, Elevations & Slab Geometry
Form boards convert the plans into the exact footprint of the home. Crews establish exterior lines, garages, porches, steps, recesses, brick ledges, thickened edges and planned elevation changes. Small layout errors at this stage become framing, cabinet, flooring and drainage problems later, so dimensions and diagonals are checked against the architectural and foundation plans.
The builder verifies finished-floor relationships to the driveway, patios, exterior grade and door thresholds. Sleeve locations, dropped shower areas, fireplace conditions, island utilities and special equipment pads are identified before the forms are accepted. A pre-pour survey or form survey may be required to confirm setbacks and location.
Critical controls at this stage
- Footprint dimensions and diagonals checked to plans
- Finished floor, garage and porch elevations confirmed
- Brick ledges, recesses, blockouts and step-downs coordinated
- Required form survey accepted before concealed work continues
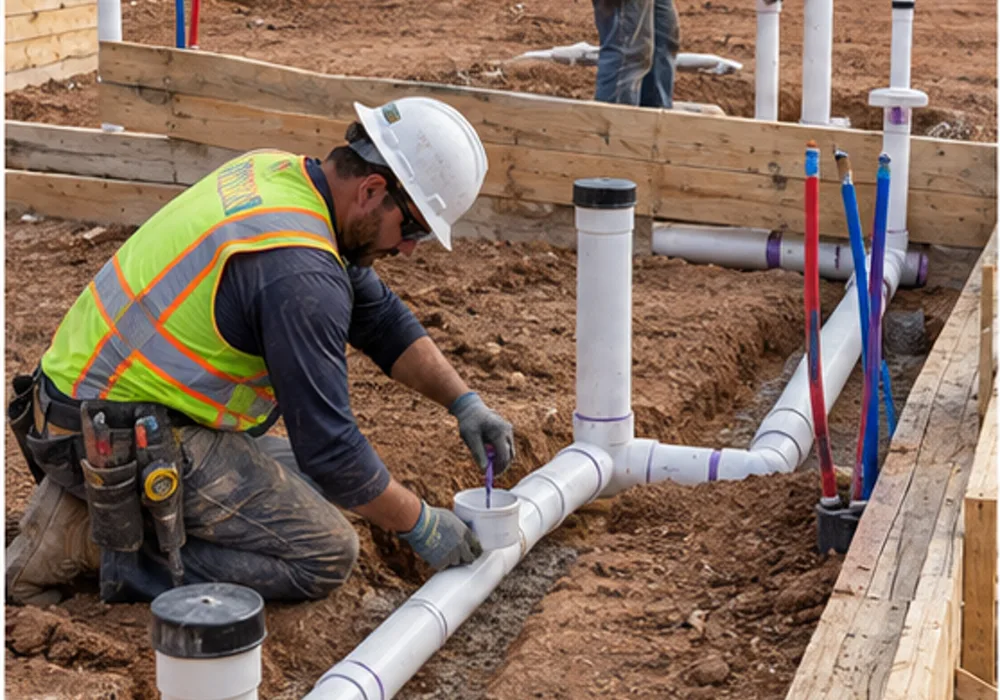
Phase 05 · Underground MEP
Under-Slab Plumbing & Utility Sleeves
Sanitary drain and vent piping below the slab is installed from the fixture plan, with correct sizes, slope, fittings, cleanouts and connection points. Water service sleeves, island supplies, tub or shower drains, floor drains, condensate routes and electrical or low-voltage sleeves must be placed before reinforcing steel makes access difficult.
The plumbing layout is checked against walls, cabinets, structural beams and planned fixtures. Lines are bedded and protected from movement, penetrations are sealed at the vapor barrier, and the system is tested for the required inspection. Photographs and measurements preserve a record of concealed routes for future work.
Critical controls at this stage
- Drain locations match final cabinet and fixture plans
- Required pressure or water test held through inspection
- Piping protected where it crosses beams, forms or future anchors
- Concealed-work photographs and measurements retained
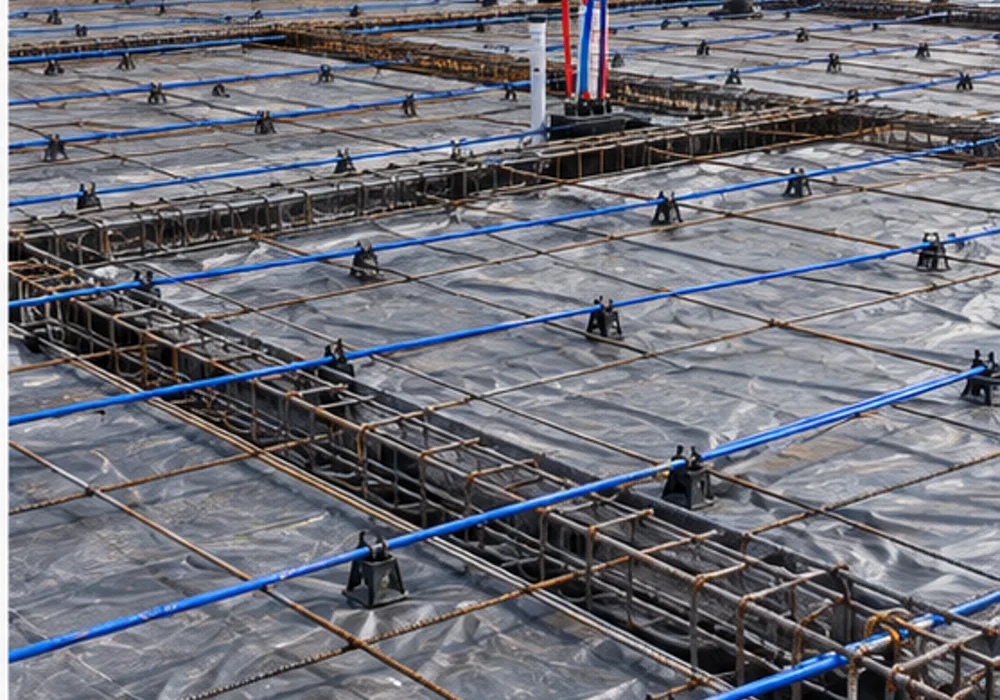
Phase 06 · Structural Foundation
Foundation Beams, Reinforcement & Pre-Pour Setup
The engineered foundation is built for the site and structure. Trenches or beams are excavated to the specified geometry, then post-tension tendons or conventional reinforcing steel are placed with the required spacing, supports, laps, clearances and anchorage. Vapor barrier continuity, termite treatment where specified, plumbing penetrations and grounding components are coordinated within the same assembly.
Before concrete, the builder walks the entire foundation with the structural drawings. Tendons and reinforcement cannot be casually moved around plumbing conflicts; the responsible engineer addresses deviations. Forms are braced, soil and weather conditions are reviewed, embedded items are secured and inspection approval is documented.
Critical controls at this stage
- Beam depths and widths match engineered foundation plan
- Tendons/rebar supported with specified cover and spacing
- Vapor barrier repaired and sealed around penetrations
- Engineer or municipal pre-pour inspection passed
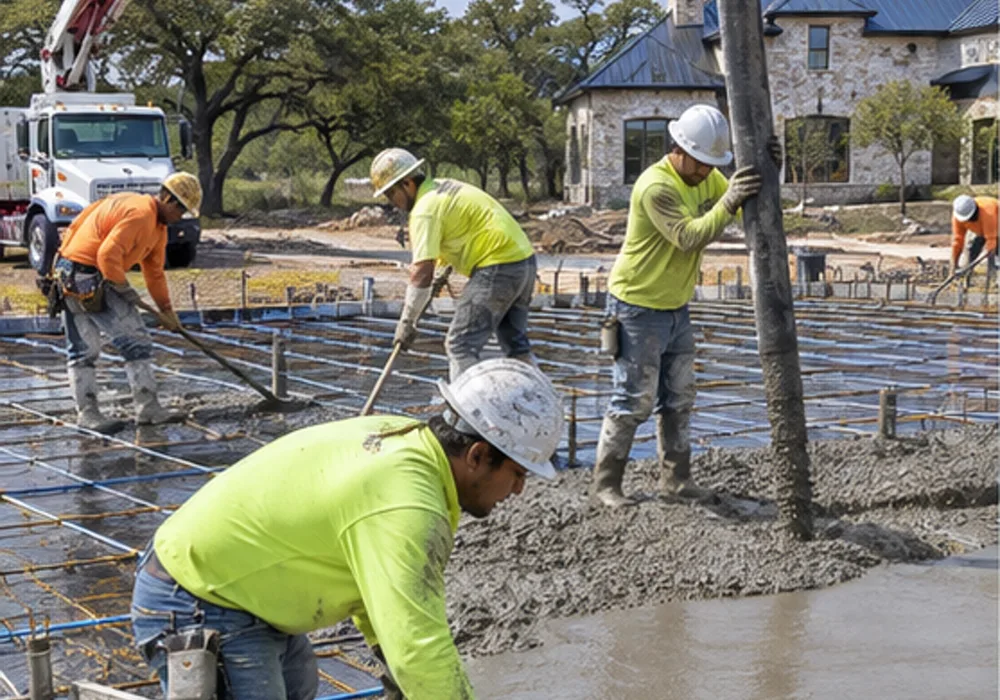
Phase 07 · Slab Pour
Concrete Placement, Finishing & Curing
Concrete placement is sequenced so beams and slab consolidate without cold joints or displaced reinforcement. The crew monitors delivery tickets, mix requirements, weather, access and pump placement while vibrating or consolidating deep sections. Screeding establishes the plane; finishing requirements differ at living areas, garage, porches and surfaces receiving bonded materials.
Curing begins immediately after finishing and continues after the trucks leave. The slab is protected from rapid moisture loss, freezing, extreme heat and premature loading. Post-tension cables are stressed only after the concrete reaches the engineer’s required strength. Elevation and flatness concerns are identified before framing hides the reference surface.
Critical controls at this stage
- Approved mix and placement conditions confirmed
- Embedded items and anchor locations protected during placement
- Curing method and access restrictions communicated
- Post-tension stressing and documentation completed as engineered
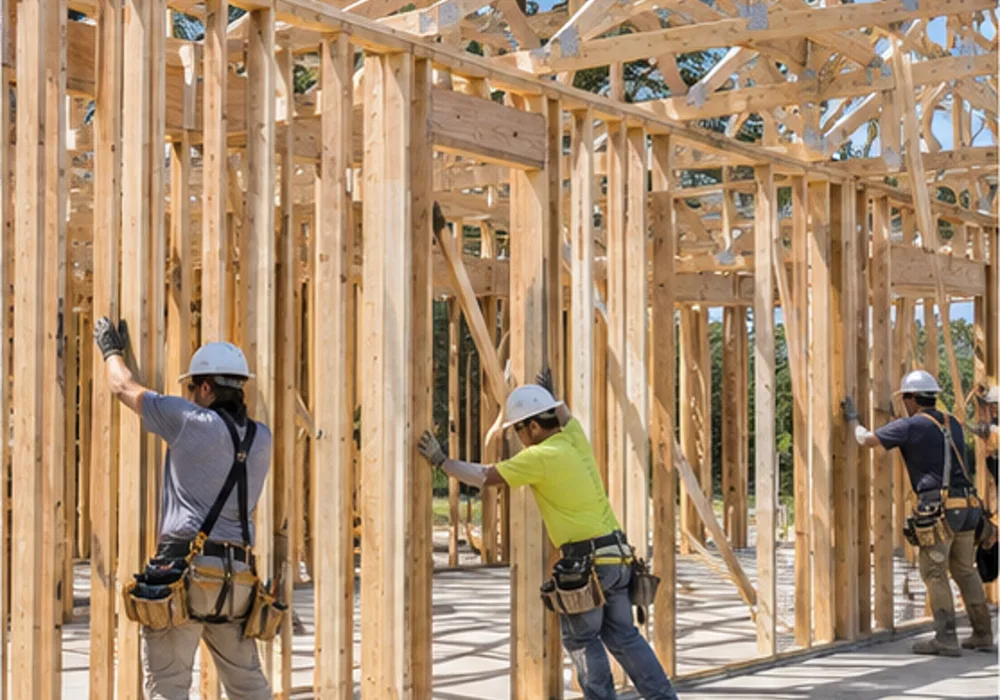
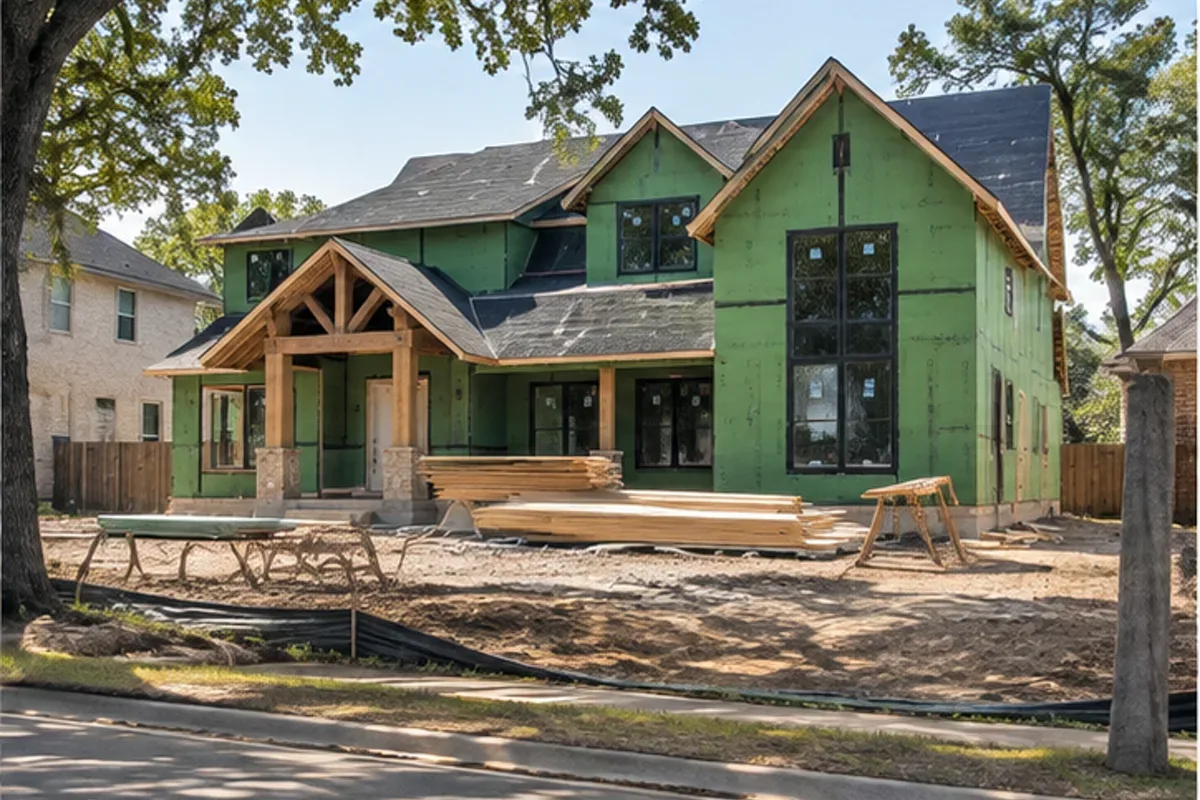
Phase 08 · Framing
Wall Framing, Roof Structure & Sheathing
Framing establishes the real dimensions of every room, opening and ceiling. Plates, studs, headers, beams, posts, floor systems and roof components follow the structural and architectural plans. Crews frame required fire blocking, backing for cabinets and accessories, attic access, mechanical platforms and rough openings for windows and doors.
The builder checks plumb, level, straightness, fastening, hardware and load paths before mechanical trades fill the walls. Roof geometry, overhangs and drainage are compared to the elevations. A frame walk also verifies furniture walls, shower sizes, appliance openings and door swings while corrections are still practical.
Critical controls at this stage
- Structural connectors, bearing and load paths verified
- Window, door, cabinet and appliance openings measured
- Blocking, fire stopping and mechanical platforms installed
- Framing corrections complete before rough MEP inspections
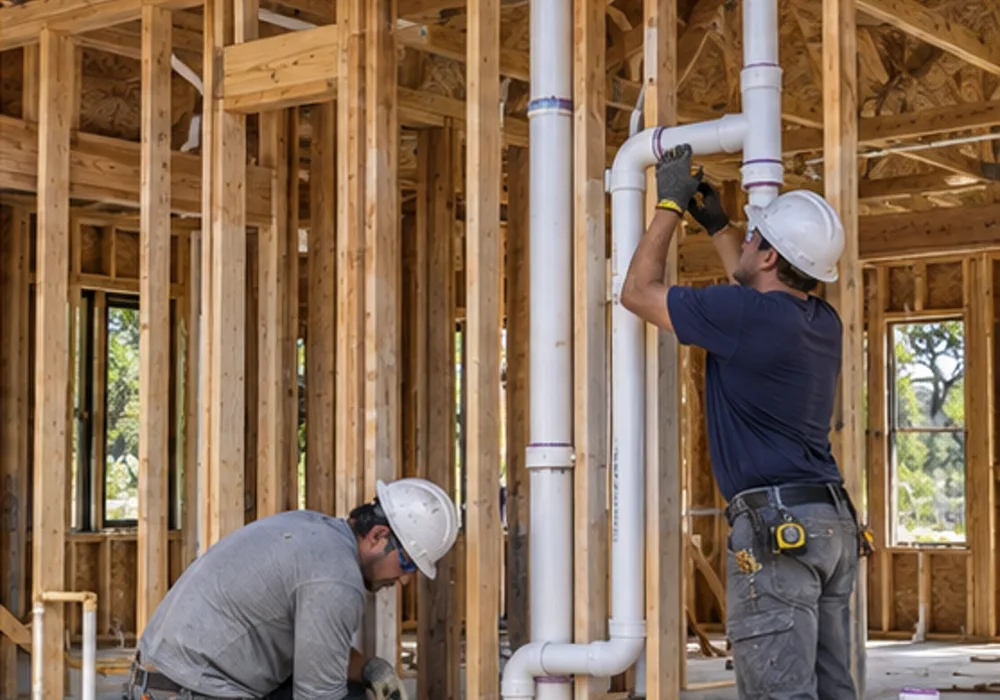
Phase 09 · Plumbing Rough-In
Top-Out Plumbing & Whole-House Water Routing
Top-out plumbing completes drain, waste and vent piping through the framed structure and roof. Crews install water distribution, tub and shower valves, hose connections, refrigerator and appliance lines, water-heater connections, cleanouts and required supports. Pipe routing must respect framing limits, insulation space and future access.
Fixture centerlines and mounting heights are checked against tile, cabinetry and finish plans—not only generic rough dimensions. Firestopping, nail protection and isolation from dissimilar materials are installed before walls close. The system is tested and inspected, and valve bodies are protected for later finish work.
Critical controls at this stage
- Fixture and valve locations verified from finish elevations
- Bored/notched framing stays within structural limits
- Nail plates, supports, insulation and firestopping complete
- Water and DWV tests passed before concealment

Phase 10 · Weather Protection
Roof Dry-In, Flashing & Shingle Installation
A roof is a layered water-management system. Decking condition and fastening are checked first, followed by underlayment, drip edge, valleys, wall and chimney flashing, plumbing boots, ventilation components and manufacturer-required starter and field shingles. Complex intersections receive special attention because most leaks begin at transitions rather than in the middle of a roof plane.
In North Texas, the assembly should account for wind, hail exposure, attic ventilation and intense heat. Class 4 impact-resistant shingles may be considered where appropriate, but classification does not eliminate damage. Installation, ventilation and accessory compatibility must preserve the selected manufacturer warranty.
Critical controls at this stage
- Deck fastening and damaged sheathing corrected
- Valleys, penetrations and wall transitions flashed in sequence
- Ventilation intake and exhaust balanced with attic strategy
- Manufacturer installation requirements and cleanup documented
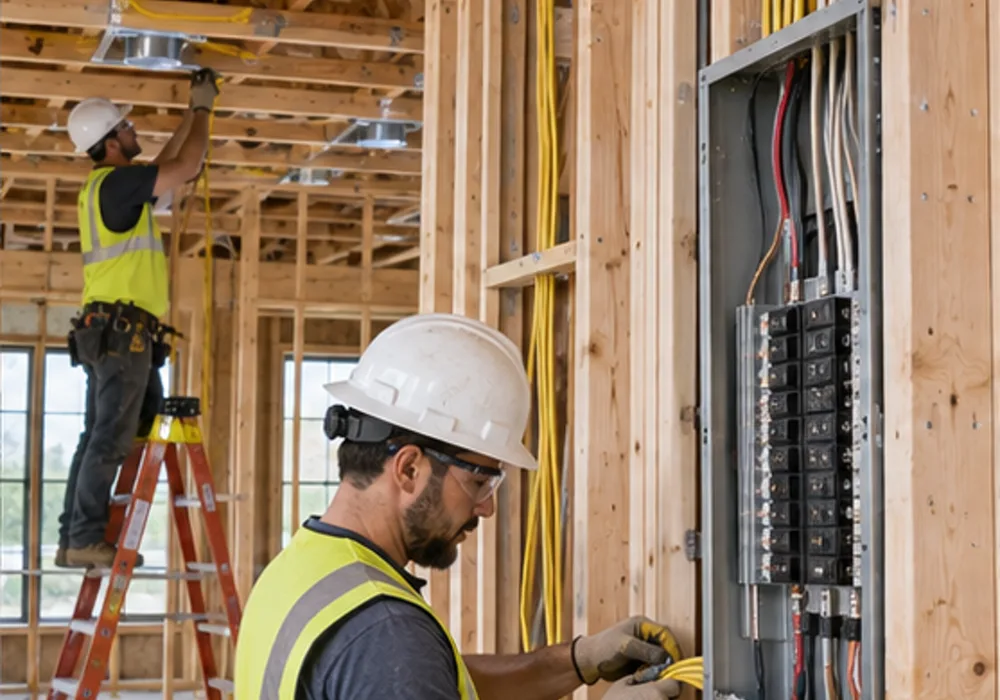
Phase 11 · Electrical Systems
Electrical Rough-In, Service & Low Voltage
Electrical rough-in converts the lighting, appliance and equipment plans into boxes, wiring, panels, dedicated circuits and service components. The load calculation considers HVAC, electric cooking, water heating, shop equipment, pool or spa, EV charging, backup power and future capacity—not just the minimum outlets shown on a floor plan.
An owner walk confirms switch locations, dimming, bedside controls, countertop outlets, exterior power, data, cameras, audio and automation before drywall. Crews protect cables at framing penetrations, maintain required clearances and label circuits. Service, grounding, bonding and required AFCI/GFCI protection are inspected before concealment.
Critical controls at this stage
- Load calculation and panel capacity match planned equipment
- Lighting and switching walk completed in framed rooms
- Dedicated circuits and low-voltage pathways coordinated
- Grounding, bonding, protection and rough inspection complete
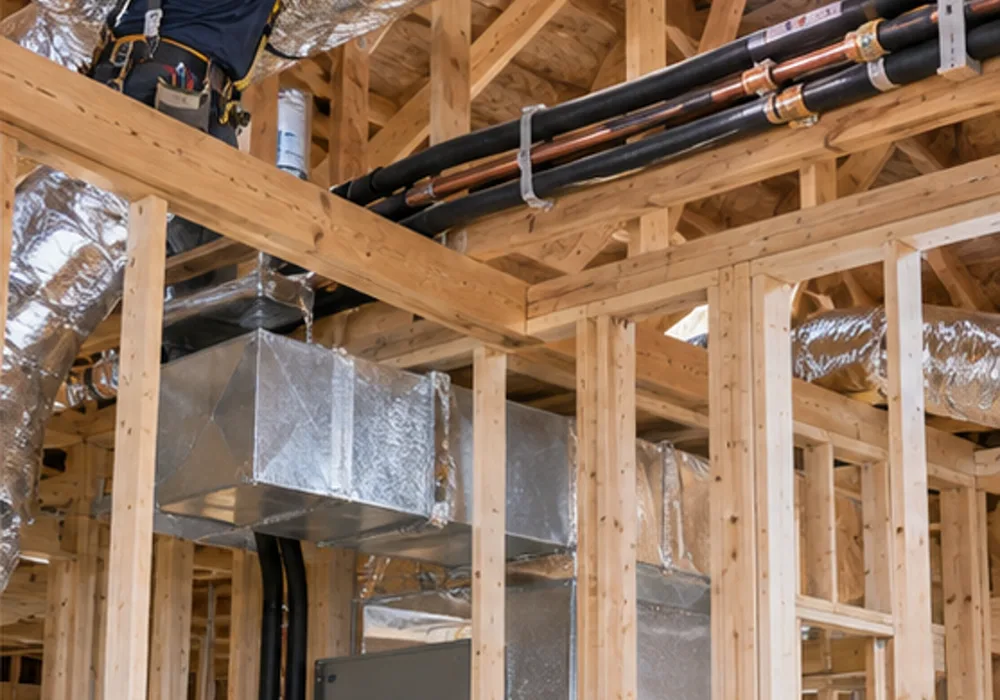
Phase 12 · Comfort Systems
HVAC Load Design, Ductwork & Mechanical Rough-In
HVAC design starts with the building enclosure, orientation, window performance and room-by-room load—not a square-foot rule of thumb. Equipment capacity, zoning, return-air paths, ventilation, filtration, humidity strategy and thermostat locations are selected together. Oversized equipment can short-cycle and control humidity poorly even when it cools quickly.
Ducts are sized, routed, sealed and supported to deliver the design airflow without being crushed or forced through structural members. Refrigerant, condensate, combustion air and exhaust routes are coordinated with plumbing, electrical and roofing. Equipment and filters remain accessible for service after the attic is insulated.
Critical controls at this stage
- Room-by-room load and equipment selection documented
- Supply, return and transfer-air paths coordinated
- Duct joints sealed and flexible runs supported without compression
- Drain pans, condensate, exhaust and service access inspected
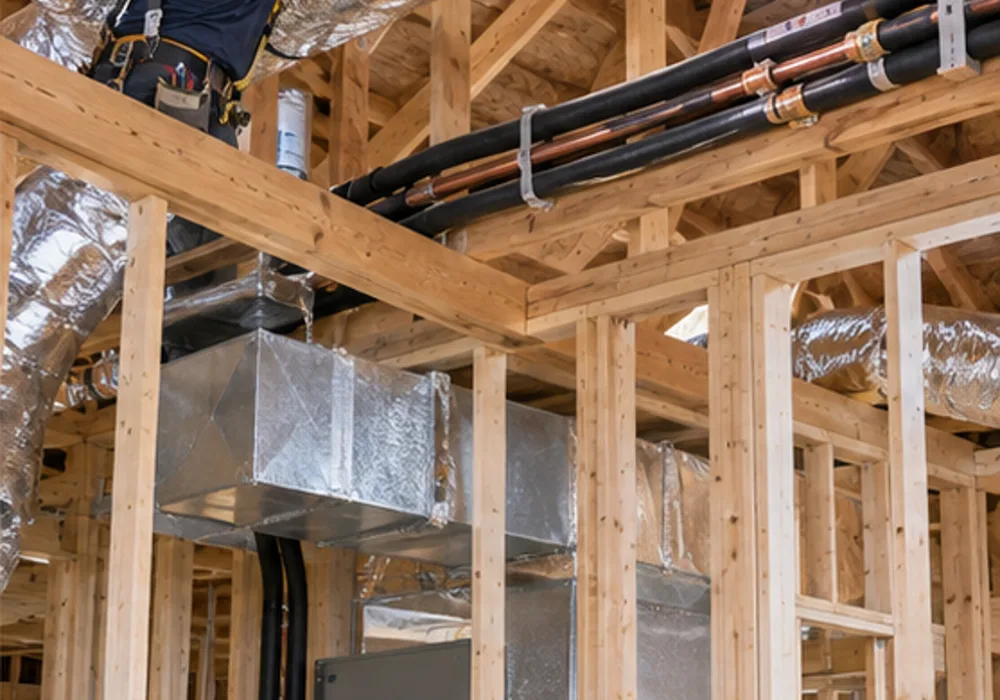
Phase 13 · Building Enclosure
Insulation, Air Sealing & Pre-Drywall Review
Before insulation, exterior penetrations, top and bottom plates, window perimeters, attic transitions and other leakage paths are sealed. The insulation system is matched to the roof and attic strategy so vapor, heat and moisture are managed intentionally. Batts must fill cavities without gaps or compression; blown or sprayed products require verified depth and coverage.
A pre-drywall review records framing, MEP and backing while everything is visible. This is the final practical opportunity to correct hidden conflicts, add blocking, protect penetrations and photograph concealed systems. Required energy inspections or performance testing are completed at the appropriate stage.
Critical controls at this stage
- Air-control layer continuous at penetrations and transitions
- Insulation depth, density and coverage match specified assembly
- Bath, kitchen and dryer exhaust routes terminate correctly
- Full pre-drywall documentation and open-item correction complete
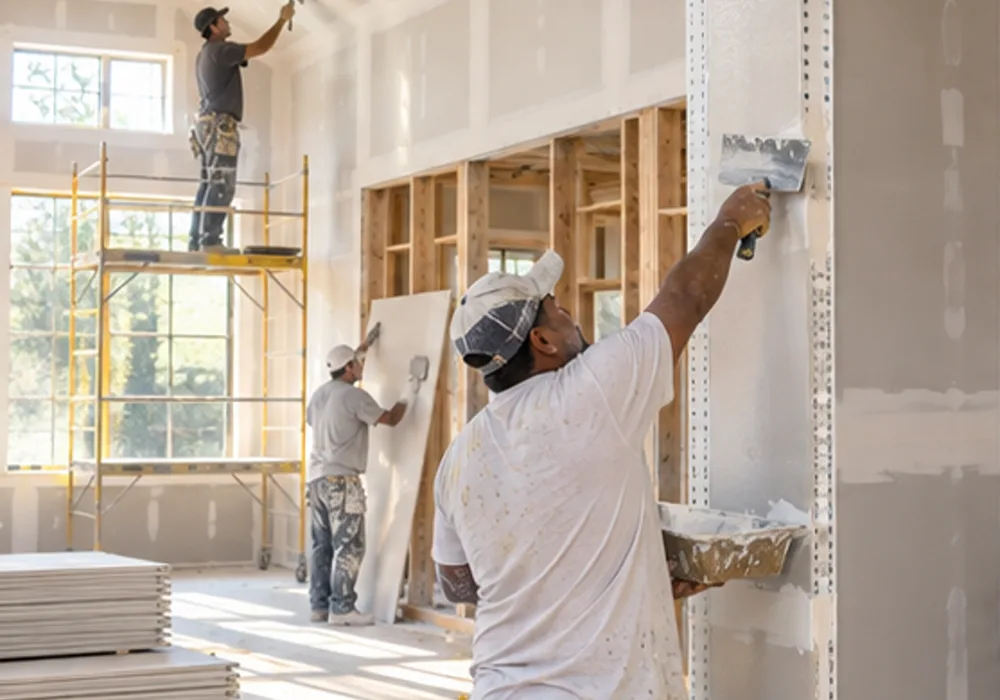
Phase 14 · Interior Substrate
Drywall Hanging, Tape, Bed, Mud & Texture
Drywall is selected and installed by location, including moisture-resistant or specialty board where required. Board layout, fastening and control joints influence cracking and finish quality. Crews protect tubs, windows and floors, then tape joints, embed corner reinforcement and build successive coats of compound with drying time between applications.
The finish level should follow the lighting and final surface. Long walls, smooth finishes and critical side-lighting reveal imperfections that a textured utility space will not. Sanding, touch-up and texture samples are reviewed before the entire home is coated, and dust is removed before primer.
Critical controls at this stage
- Correct board type and fastening used by location
- Joints, corners and control conditions finished consistently
- Texture or smooth-wall sample approved under representative light
- Surfaces dry, sanded and cleaned before primer
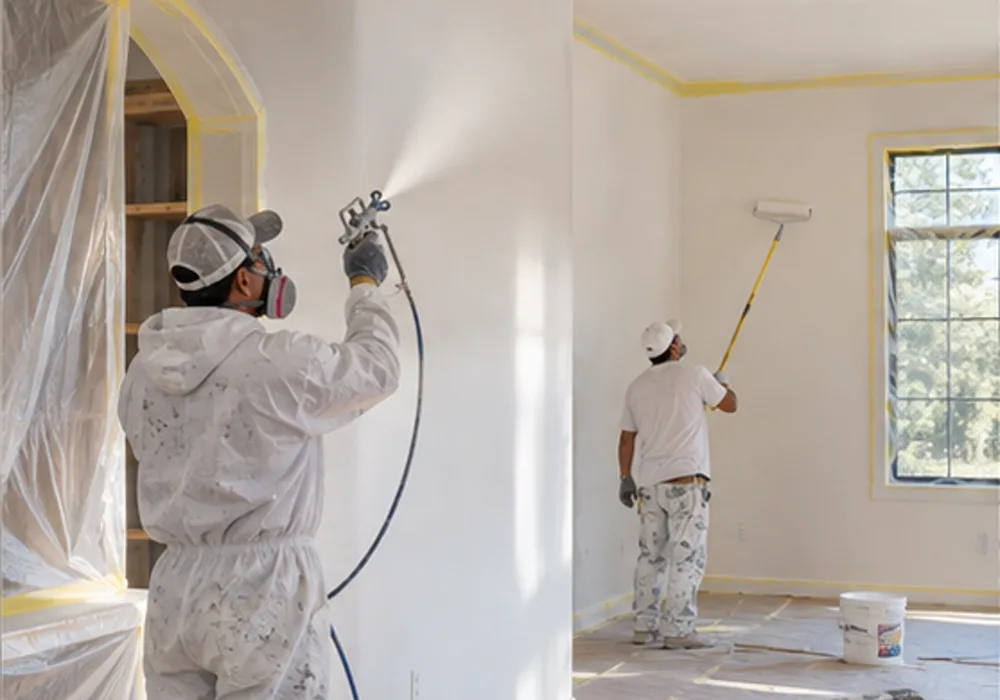
Phase 15 · Interior Coatings
Interior Primer, Paint & Finish Protection
Primer seals the drywall and exposes surface defects before finish paint. Substrates are cleaned, repaired and conditioned; trim, doors, cabinets, floors and fixtures are masked or protected. Color and sheen are confirmed by room because daylight, artificial lighting and surface texture change how a coating reads.
Finish coats are applied at manufacturer spread rates with adequate drying and ventilation. High-use and wet areas receive appropriate washable systems, while ceilings and trim are coordinated for consistent cut lines. Final touch-up waits until heavy trade traffic is reduced, but protection stays in place through finish-out.
Critical controls at this stage
- Primer and finish system compatible with each substrate
- Color and sheen schedule confirmed before production
- Coverage, cut lines and repairs reviewed in normal lighting
- Touch-up material labeled for owner closeout
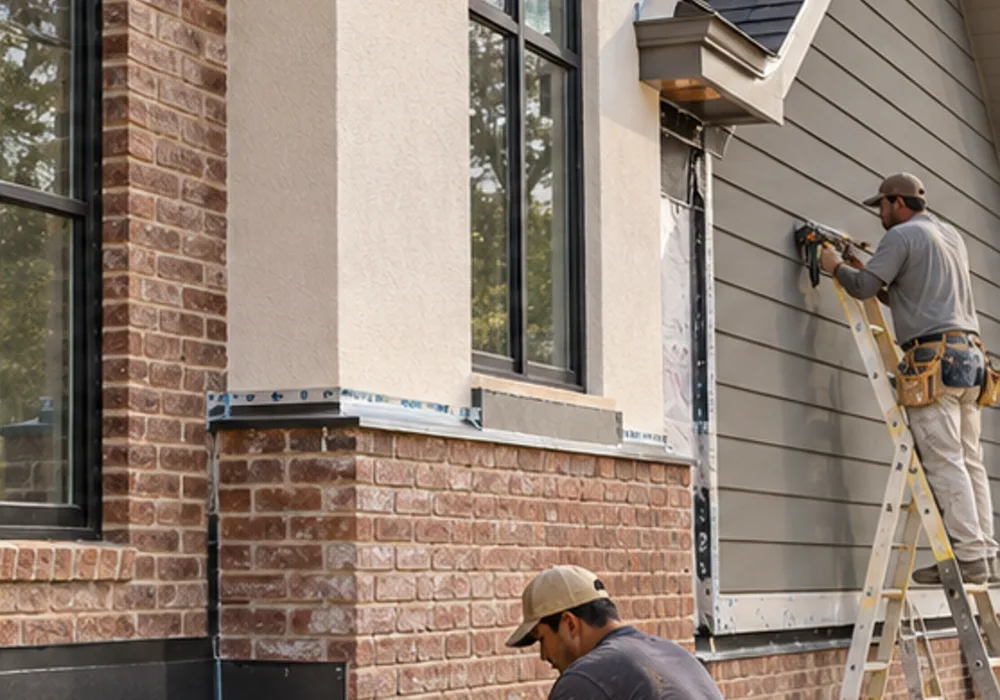
Phase 16 · Exterior Cladding
Brick, Stucco, Siding & Exterior Water Management
Exterior finish is installed as part of a drainage assembly, not as decoration attached to framing. Weather-resistive barrier, window flashing, kick-out flashing, weeps, drainage planes, masonry cavities, control joints and clearances must direct water back outside. Brick, stucco, stone veneer and fiber-cement siding each require different supports and transitions.
Material layouts are coordinated around openings, roof lines, utilities and grade. Masonry ties, lintels, flashing and weeps are checked before they disappear. Stucco reinforcement and cure timing, siding joint treatment, exterior sealants and paint systems follow the selected manufacturer details.
Critical controls at this stage
- Window/door flashing ties into drainage plane
- Masonry weeps, flashing, ties and cavity kept functional
- Cladding clearances maintained above roofs, paving and soil
- Sealants and coatings compatible with adjoining materials
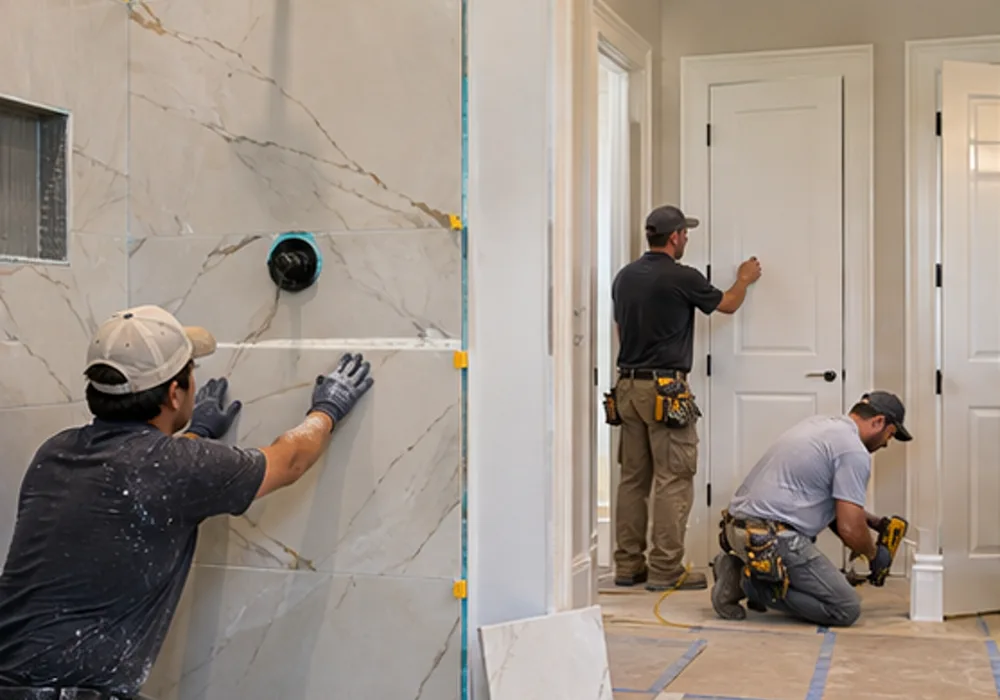
Phase 17 · Interior Finish Layers
Showers, Tile, Interior Doors & Baseboards
Wet areas begin with substrate, slope and waterproofing. Shower pans, curbs or curbless transitions, niches, benches, corners and penetrations are completed and tested before tile conceals them. Layout establishes centered features, balanced cuts, grout joints and transitions to adjacent flooring.
Interior doors and trim are installed from a consistent elevation reference. Jambs are plumb, reveals are even and hardware operates without binding. Baseboards, casing, crown and specialty millwork are scribed and joined before final caulk and paint. Humidity and conditioned-space requirements are respected for wood products.
Critical controls at this stage
- Shower waterproofing and flood test completed before tile
- Tile layout and transitions approved before setting
- Door clearances, handing and hardware verified
- Trim joints, reveals and finish preparation inspected
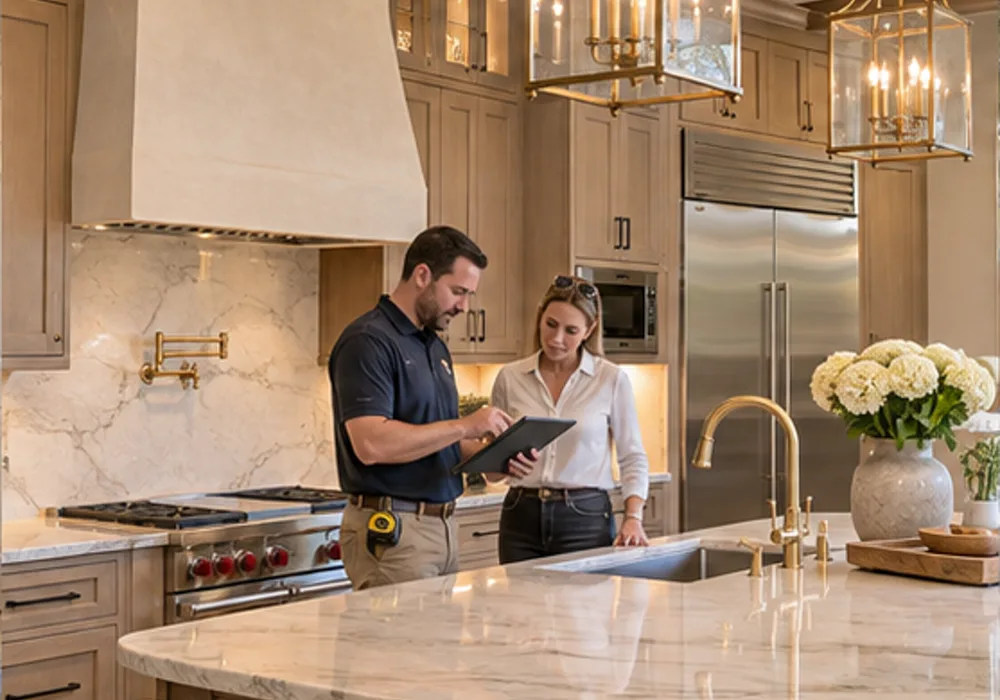
Phase 18 · Final Finish-Out
Cabinets, Tops, Fixtures, Appliances & Commissioning
Final finish-out brings together work that was planned months earlier. Cabinets are leveled, anchored and aligned; countertop templates follow verified cabinet conditions; plumbing trim, lighting, devices, HVAC grilles, appliances, glass, mirrors and hardware are installed in a controlled sequence to limit damage and rework.
Systems are not considered complete because they turn on. Plumbing is checked for flow, temperature and leaks; electrical devices and protection are tested; HVAC airflow, drains and controls are commissioned; appliances and specialty equipment are started according to manufacturer requirements. A room-by-room punch process separates incomplete work, damage and owner preference items.
Critical controls at this stage
- Cabinet/appliance openings and countertop conditions verified
- Fixtures, devices, controls and safety protection tested
- HVAC startup, airflow and condensate performance documented
- Punch list assigned, tracked and reinspected by room
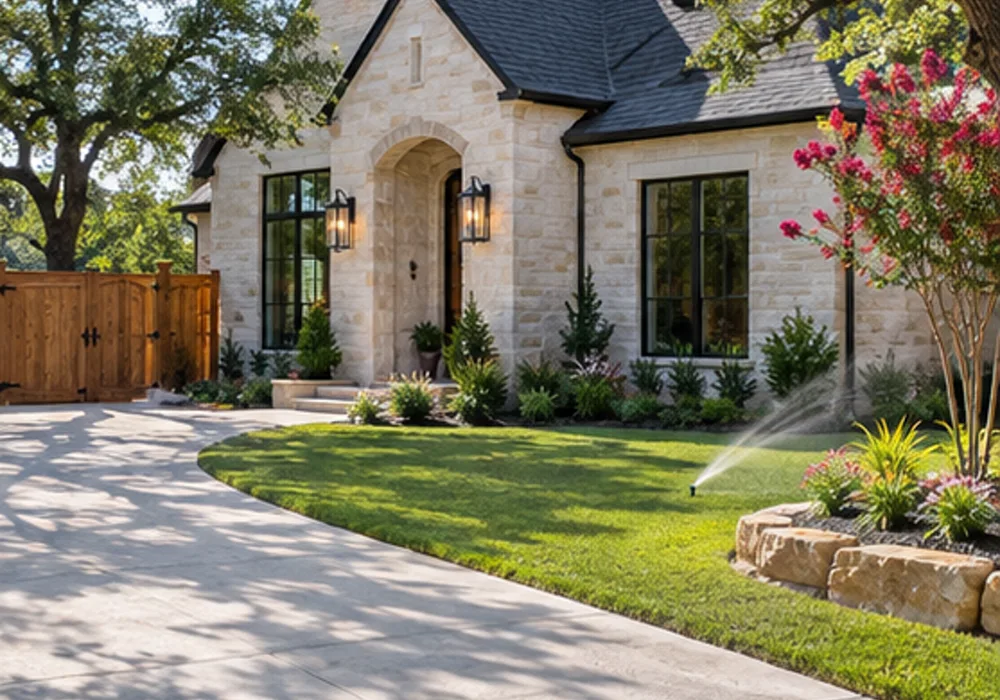
Phase 19 · Exterior Completion
Driveway, Fence, Irrigation, Sod & Final Site Drainage
Permanent exterior work is sequenced after heavy construction traffic so new concrete and landscape are not destroyed by deliveries. Driveway subgrade, reinforcement, thickness, joints, slope and street connection are matched to expected vehicles and soil conditions. Fence lines, gates and utility conflicts are verified before posts are set.
Final grading restores positive drainage around the foundation and connects swales to safe discharge points. Irrigation zones support the landscape without saturating the slab edge. Topsoil preparation, sod or planting, downspout discharge and erosion repair complete the site. The final walk includes exterior drainage, cleanout locations, utility access and owner maintenance guidance.
Critical controls at this stage
- Driveway section, joints and drainage checked before placement
- Final grade falls away from structure without trapping water
- Fence, irrigation and landscaping clear utilities and easements
- Closeout includes warranties, manuals, inspections and maintenance orientation
Questions Buyers Ask Before They Build
Detailed Custom Home Construction FAQs.
When Should Selections Be Final?
Structural, window, plumbing, electrical and HVAC decisions must be final before their rough-in or release dates. Cabinets, tile, lighting and finish materials also need scheduled approvals so procurement does not interrupt the critical path.
Which Inspections Happen During The Build?
Typical municipal checkpoints may include foundation, plumbing, framing, electrical, mechanical, energy and final inspections. The exact list varies by jurisdiction, project and utility; quality-control reviews should supplement—not replace—required inspections.
How Are Hidden Conditions Documented?
Photographs, measurements, inspection records, approved submittals and written changes should be retained before work is concealed. This creates a useful record for closeout, warranty and future improvements.
Why Does The Sequence Change Between Homes?
Foundation type, jurisdiction, weather, utility timing, material lead times, design complexity and site access can shift the working schedule. The dependencies remain: approve, inspect and protect each assembly before covering it.
How Are Owner Changes Controlled?
A requested change is evaluated for drawings, engineering, permit, procurement, labor, price and schedule effects. The written change should be approved before affected work proceeds.
What Does Final Closeout Include?
Final inspections, punch completion, cleaning, operating demonstrations, keys and controls, warranty documents, product information and maintenance guidance appropriate to the completed scope.
Licensed · Bonded · $5M Insured
Build With A Team That Understands Every Layer.
Bring plans, a property address, or simply an idea. We’ll help you understand the next step.
Professional protection for residential and commercial work. No finished plans required.Cost Context & Budget Limits
Displayed ranges are illustrative planning allowances, not verified DFW averages or a quotation. Census publishes price indexes and NAHB studies national homebuilding costs; neither source establishes local prices for this service. Confirm quantities, site conditions, systems, finishes, exclusions and contingency through a written scope.
Construction In Context
See The Work As A Connected Sequence.
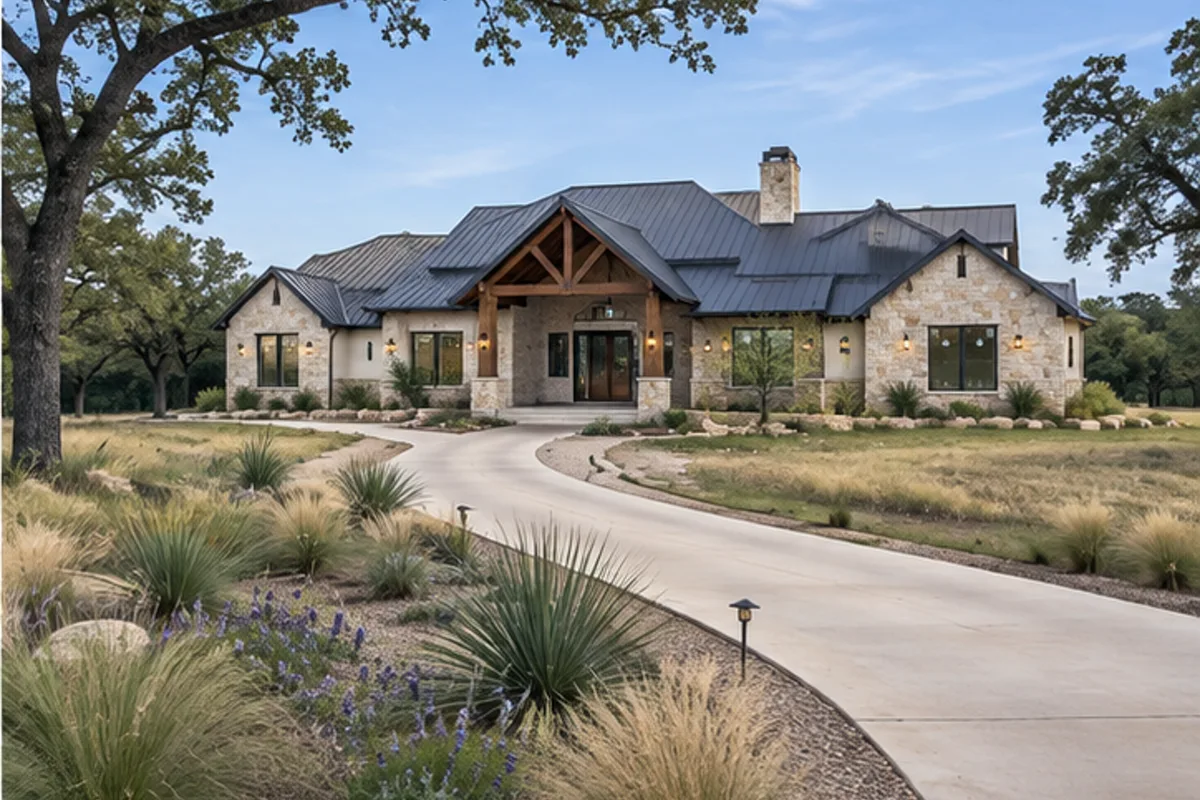
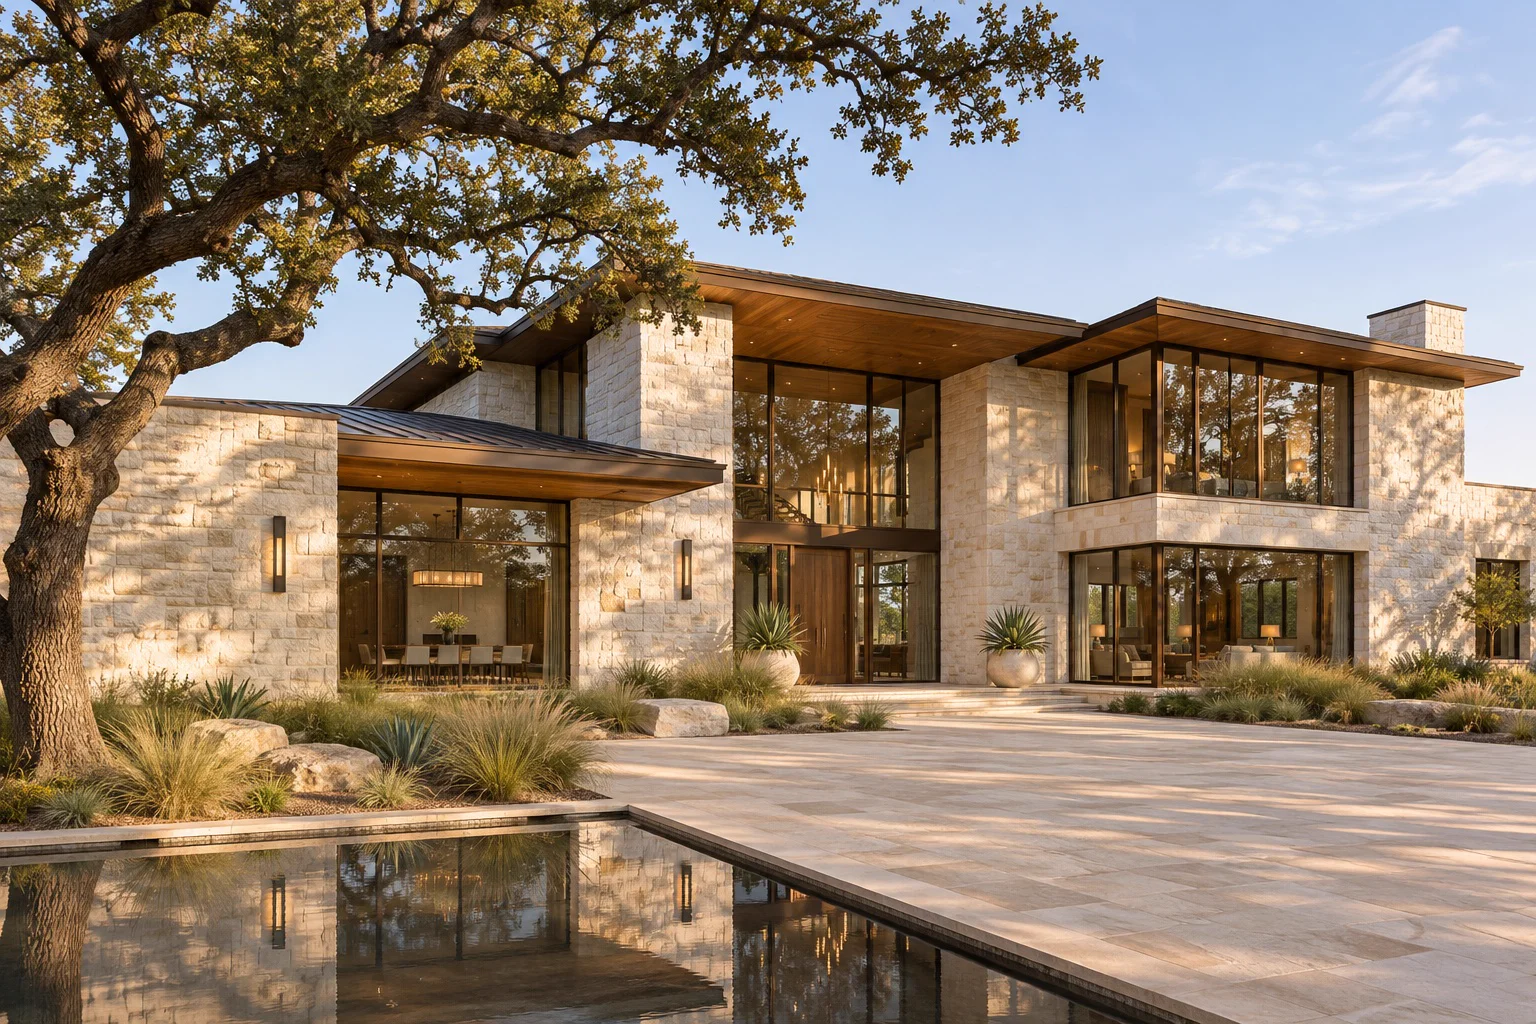
These visuals illustrate the types of assemblies, coordination points and finished conditions discussed on this page. Exact means, materials and inspections follow the property, approved documents and contracted scope.